

Designing a Custom 3D-Printed Organizer for My Watercolors
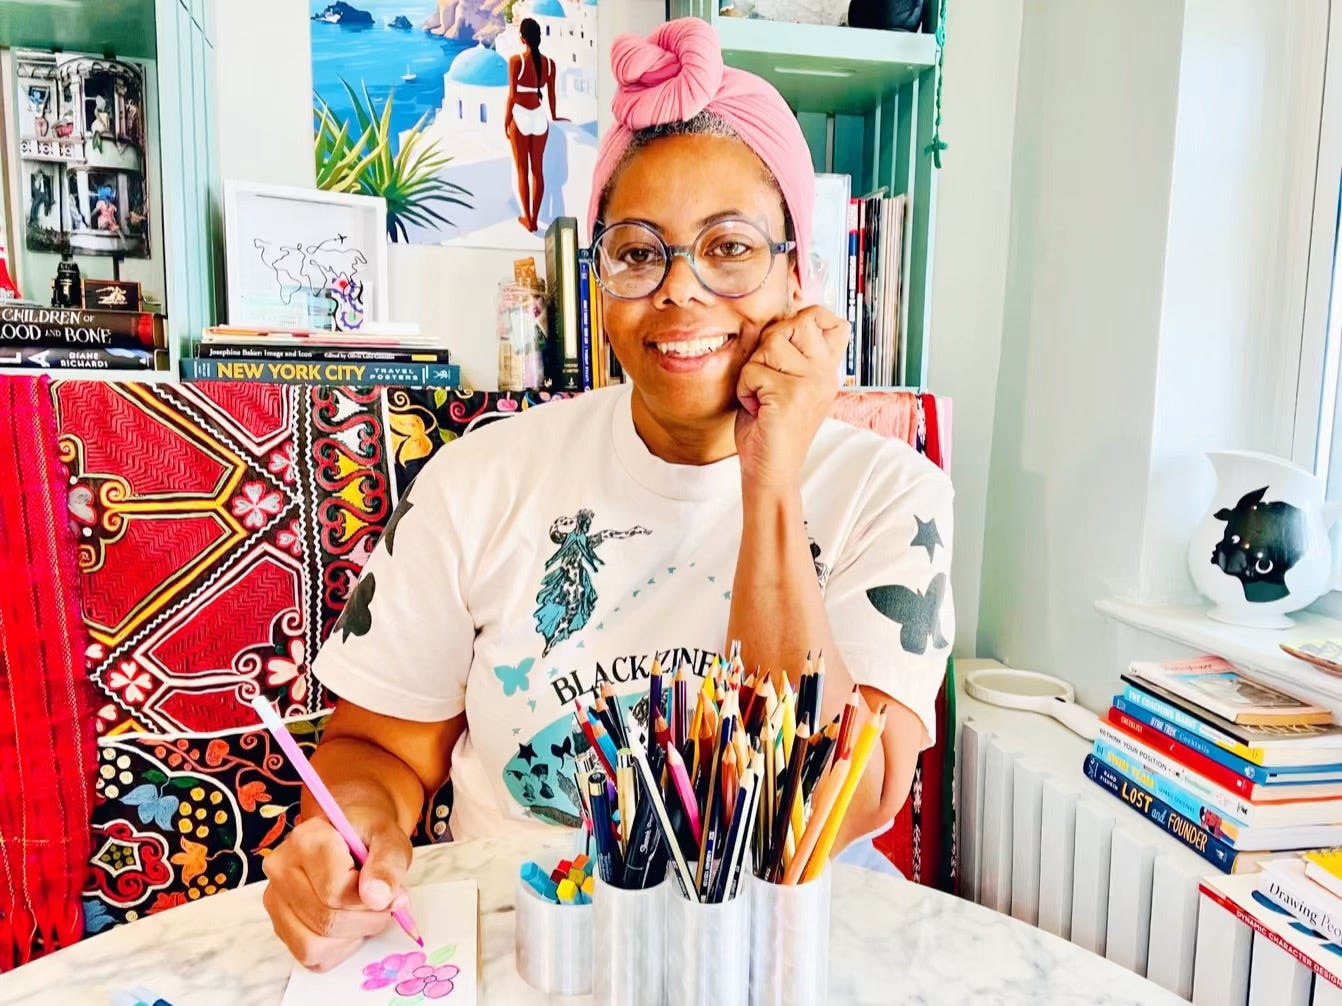
Over the past few months I’ve been falling in love with watercolor pencils.

My crafty friend Lindsay first introduced me to watercolor pencils during one of our monthly craft nights. I had always thought of drawing and painting as separate practices, but watercolor pencils sit somewhere in between. You sketch with them like colored pencils, then add water, and suddenly the marks turn into washes of color.
I got hooked almost immediately.
Building a watercolor sketch kit
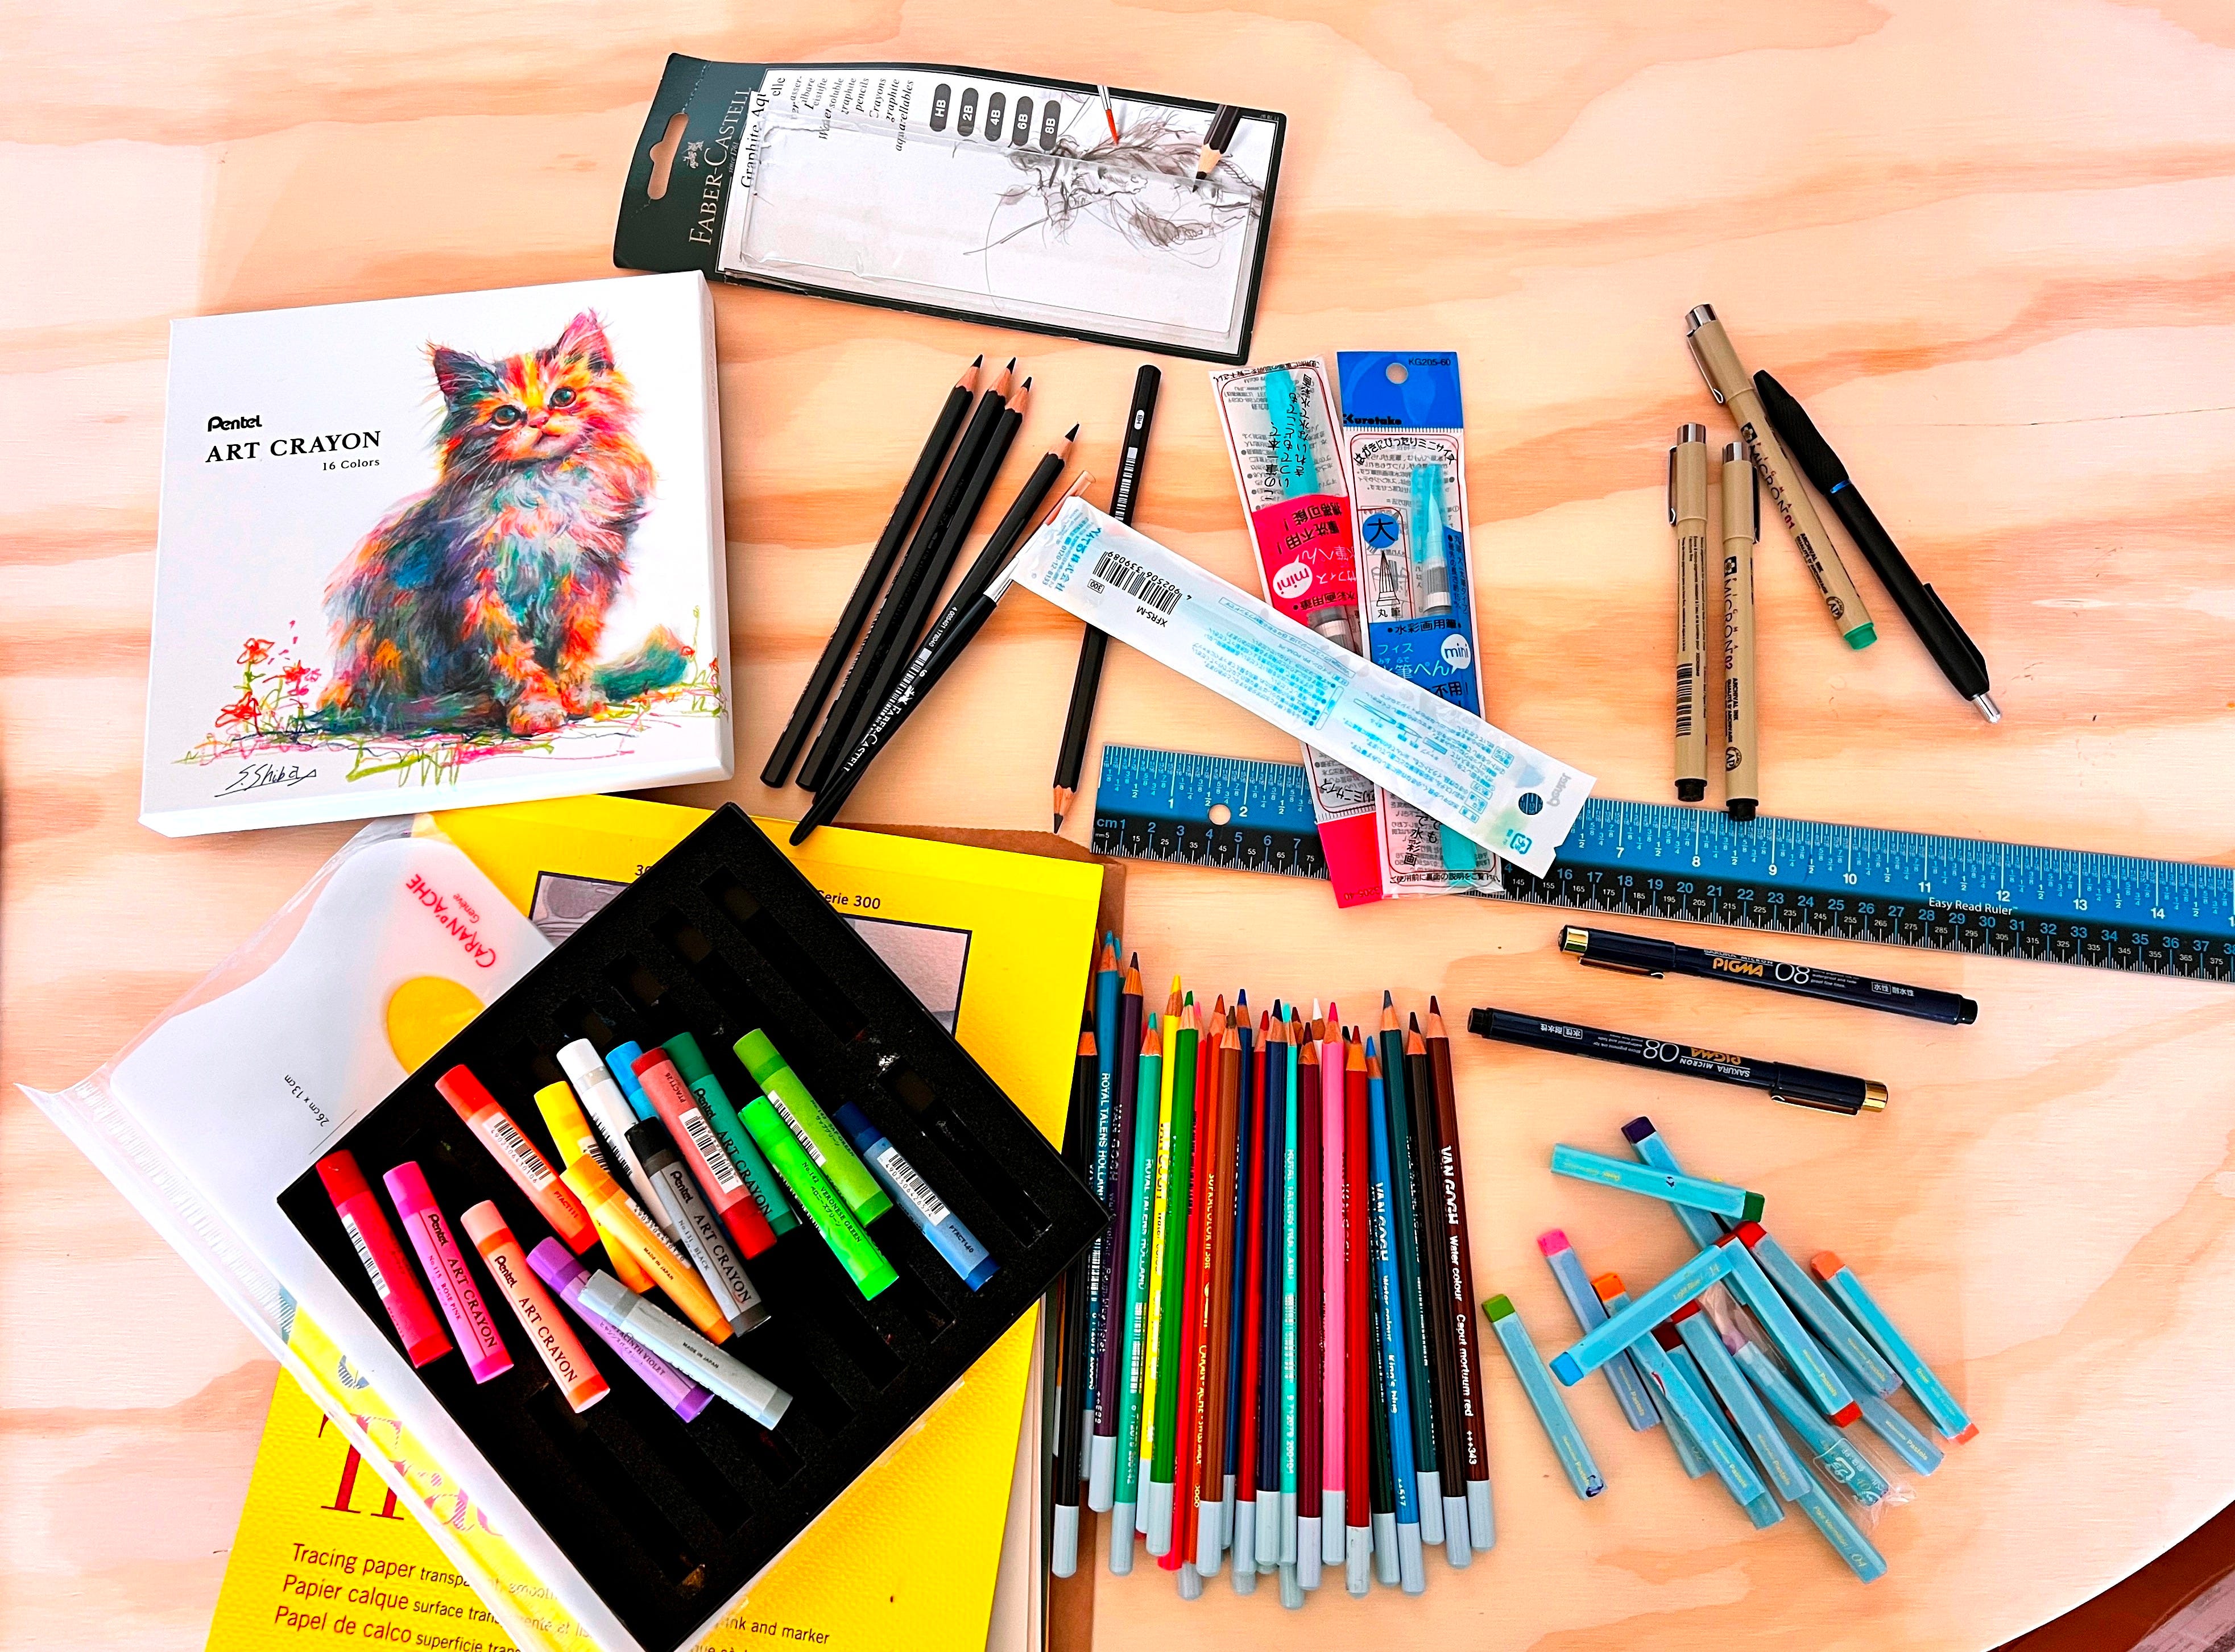
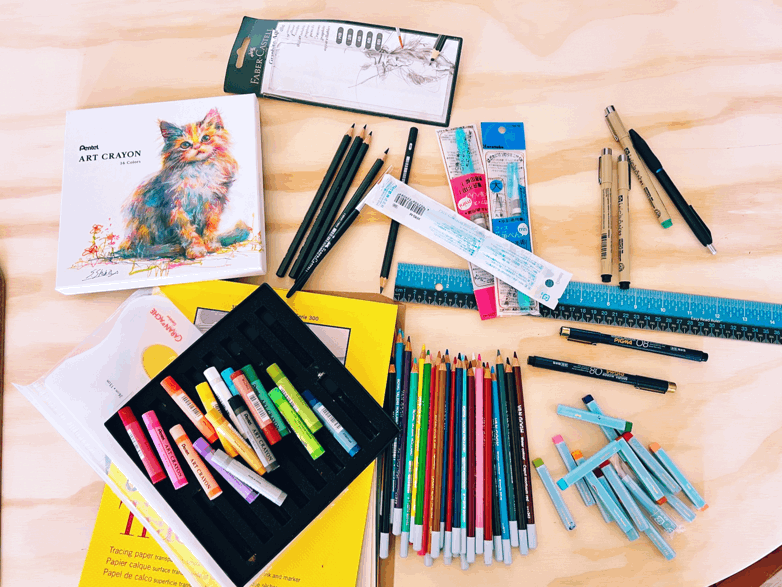
Once I started experimenting, I began picking up supplies whenever I traveled. On recent trips to Japan and Paris, I found all sorts of tools that work beautifully with my new obsession—new pencils, even watercolor crayons, small brushes, and a palette designed with a rough surface so you can scrape pigment directly from the pencils and mix color.
When I got home and spread everything out on my table, I realized two things.
First, I had accumulated quite a lot of supplies. 😬 #shopaholic
Second, I didn’t want to mix these tools in with my regular drawing and colored pencils. Watercolor pencils require water, brushes, and mixing surfaces, so it made sense to keep everything for this medium together in its own little kit.
I briefly looked for organizers online, but nothing really worked. My tools were all different heights and diameters, and most organizers assume everything is the same size.
But I did really like the idea of round tubes, like paper toilet rolls, for the compartments. 🤔. So naturally, this became a small 3D printing design project.
Designing a custom organizer
First, I started categorizing everything and measuring heights and widths. Then I opened up my favorite 3D design tool, Tinkercad. In Tinkercad, I used simple round shapes to create separate tube compartments sized for watercolor pencils, crayons, brushes, and a few sketch pencils. It started to look like a cute flower blooming.
Next was choosing a filament. I thought about maybe white, but then I decided to print in one of my favorite translucent filaments, so the colors of the pencils and crayons become part of the design itself. The crystal clear filament came out looking so cool.
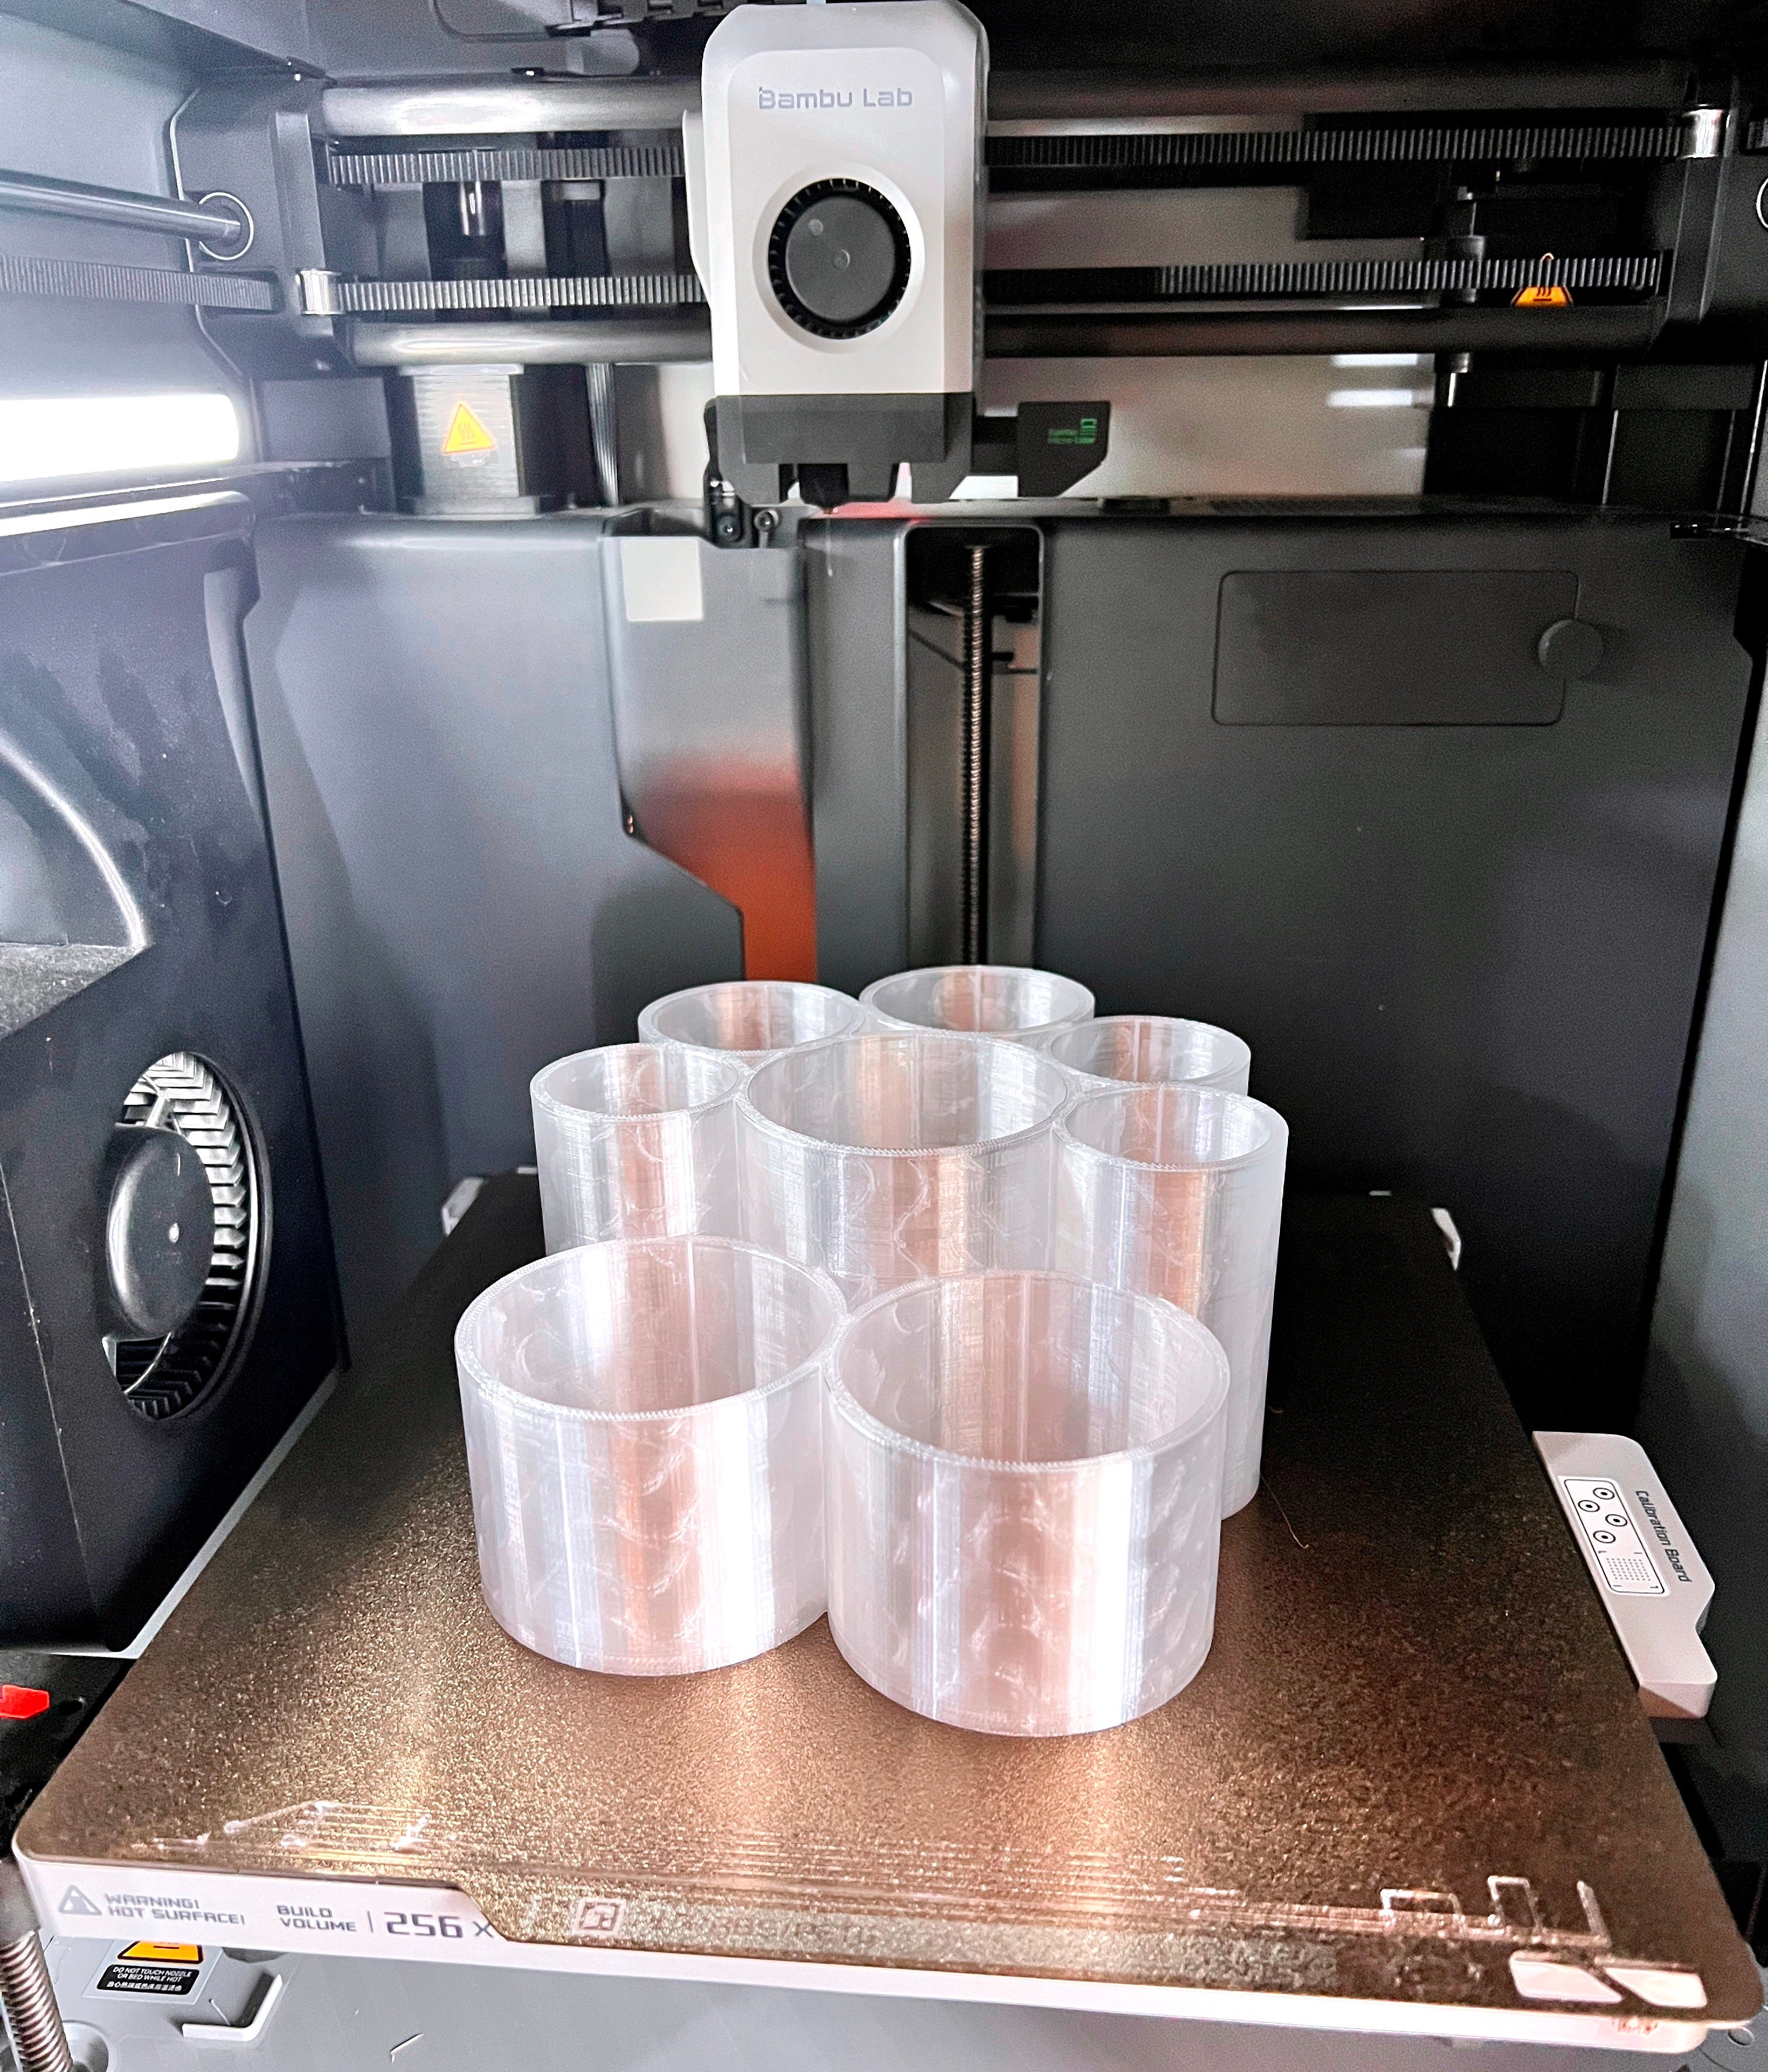
After printing the design on my beloved 3D printer, I filled it with all of the supplies I bought.
Now everything for this medium lives in one place, and it’s easy for me to carry around my apartment to all of the different artmaking corners.
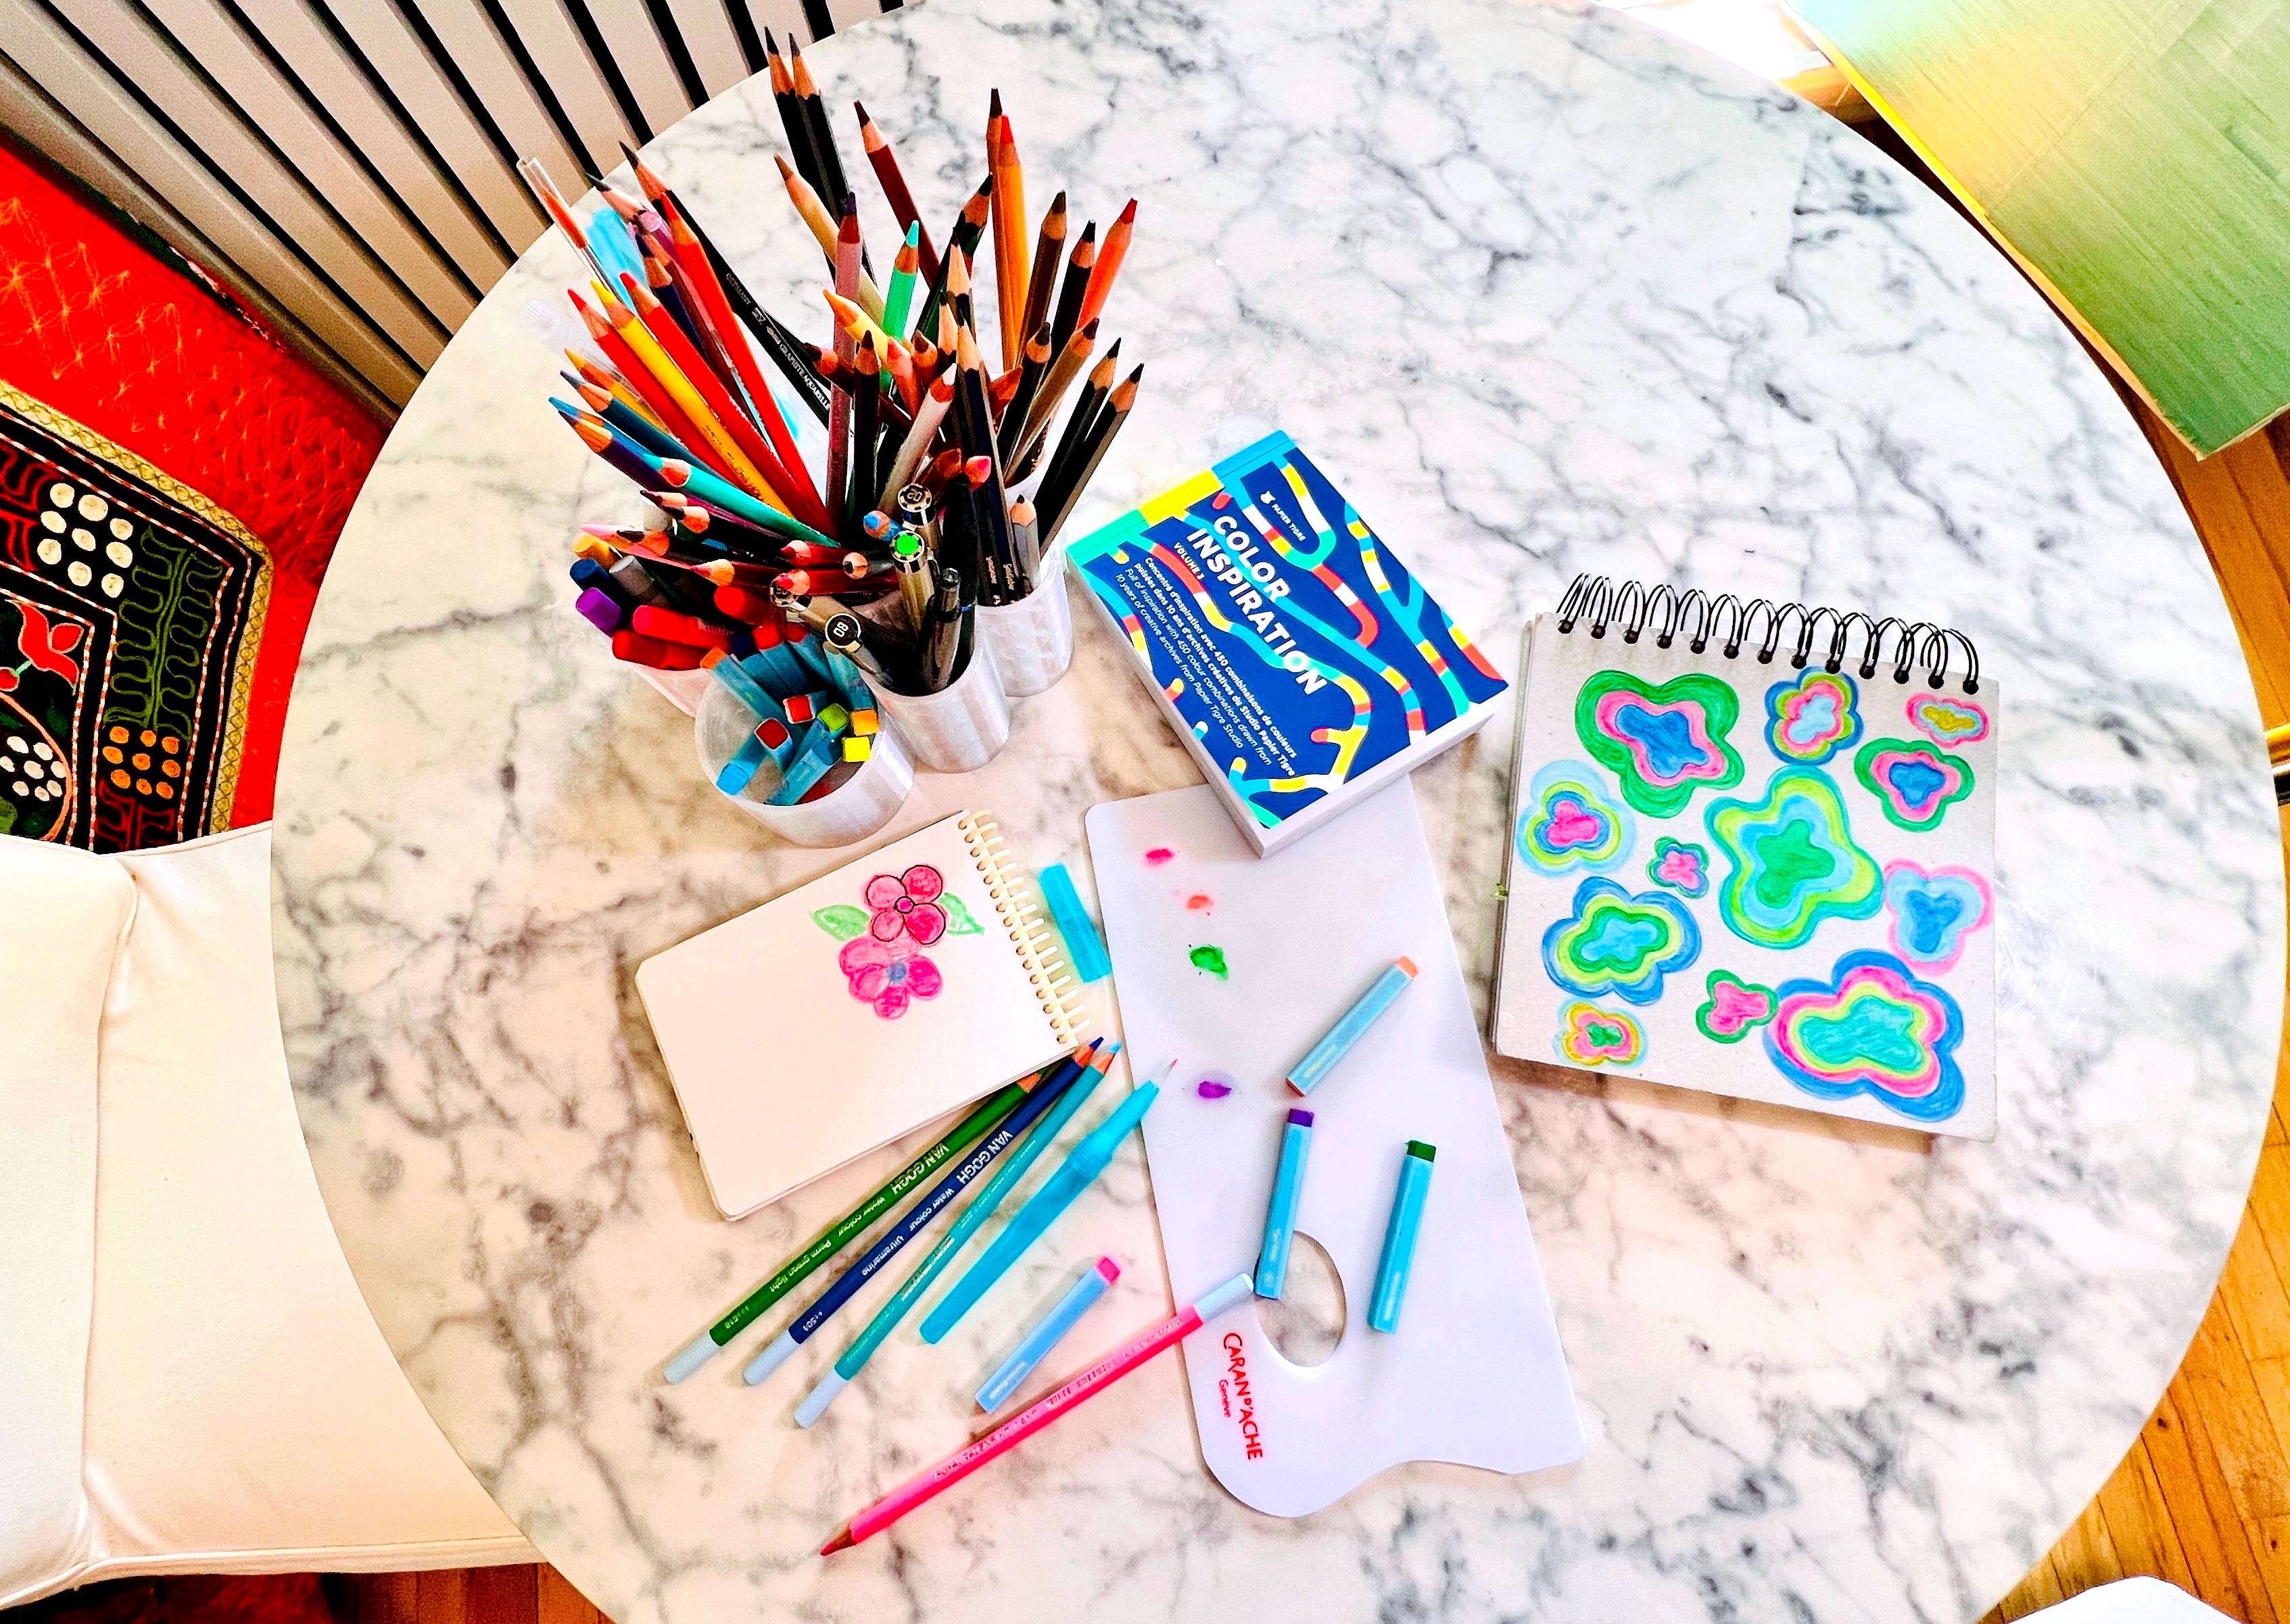
It’s a small thing, but the organizer makes it much easier to sit down and experiment—which is exactly what I’m trying to do more of this year. I want to spend more time drawing by hand and sketching, instead of always working on the iPad or computer. Sometimes organizing your tools can be a powerful way to help commit to and achieve a new creative goal or practice.
Print or remix the organizer
If you’d like to try something similar, I’ve shared the Tinkercad file for this organizer so you can print it or remix it for your own supplies.
Feel free to adjust the compartment widths and heights. That’s one of the nice things about open source and designing your own 3D printed objects—everything can be tailored exactly the way you like.
And I’m curious:
How do you organize your favorite art supplies?
If you have a setup you love, if you remix this design, or have any questions about 3D printing, let me know in the comments. Likes, shares, questions, and comments really help other people like you discover my creative experiments, and I always enjoy hearing about how other artists, makers, and crafters organize art-making tools.
The translucent filament is gorgeous to let the watercolor pencil colors blossom! And yes for craft nights bringing out time for creativity and sharing 🥰